If you have your own domain address, you can establish a Localtonet relationship with the Localtonet DNS Manager. Then you can start using your own Domain address for all tunnel types.
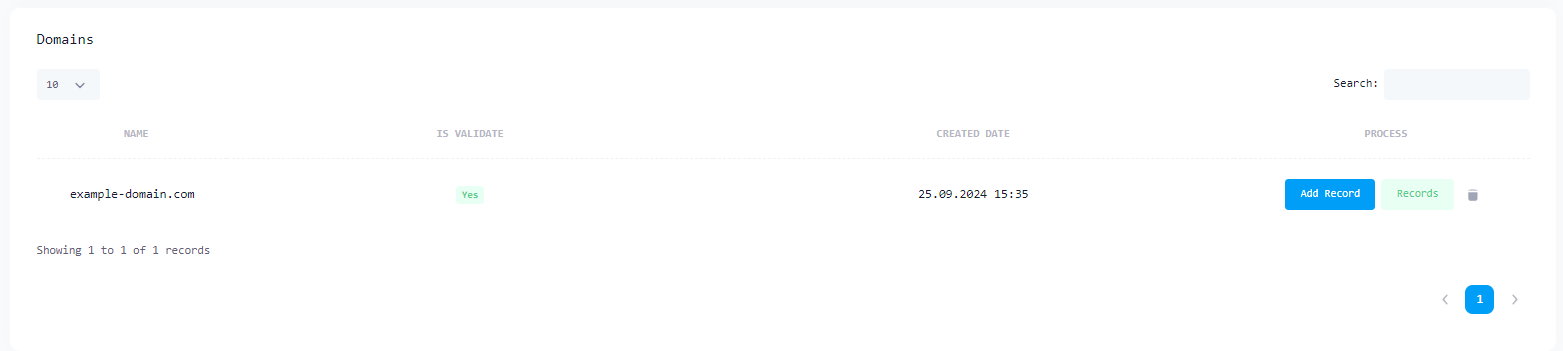
First, you must add your Domain address to the DNS Manager.
Before you start your tunnel, you need to update your Domain Name's DNS settings with ns1.localtonet.com and ns2.localtonet.com. To do this, go to the administration page of the Provider you purchased your domain from (e.g. namecheap) view for example namecheap.
Once you have completed these processes, you can now choose your own domain name and customize its subdomains when creating your tunnels.
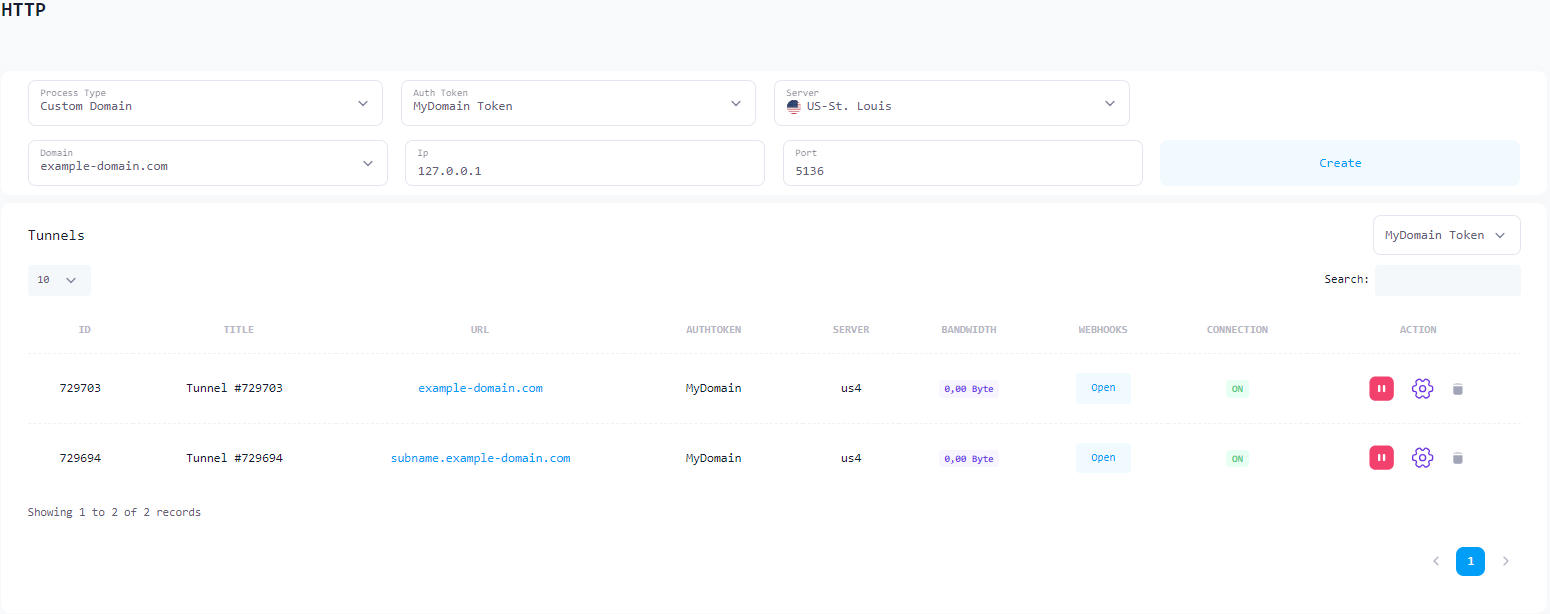
In the image below, you can examine the Custom Domain and Custom SubDomain examples created for the HTTP tunnel.
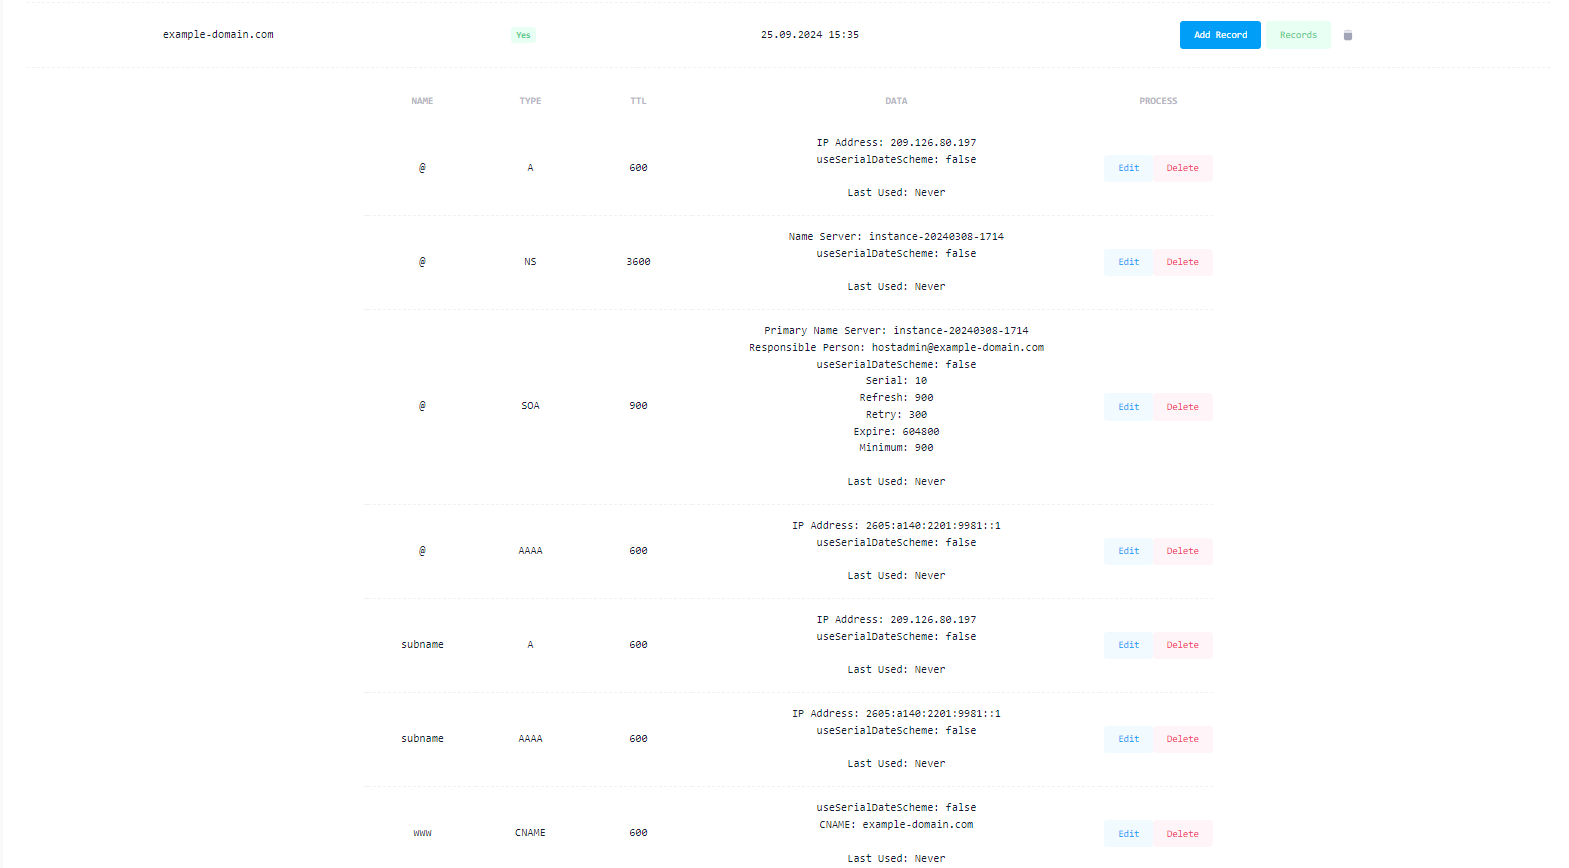
You can now see the Records you have added in DNS Manager and make new additions or updates.